配置一个漂亮的 Windows PowerShell | Windows Terminal Preview 美化&个性化
0. 准备所需文件
Windows Terminal Preview
- 可以在 GitHub 或 Microsoft Store 获取
[PowerShell] (https://aka.ms/pscore6)
- 一个跨平台的 PowerShell
[Git Bash] (https://git-scm.com/downloads)
- 可集成在 Windows Terminal Preview 中
1. 基础设置调整
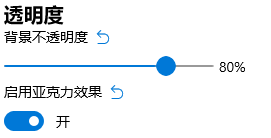
开启 Terminal 亚克力半透明效果为80%
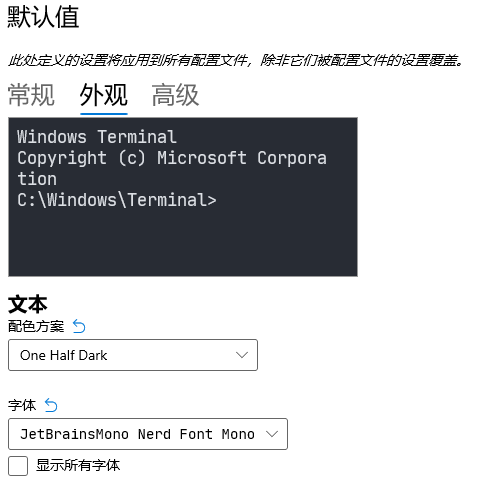
选择 Terminal 配色方案
设置>默认值>外观>配色方案
我选择 One Half Dark
集成 Git Bash
名称
Git Bash命令行: (根据安装目录而定)
D:\Program Files\git\bin\bash.exe启动目录: (默认)
%USERPROFILE%图标: (根据安装目录而定)
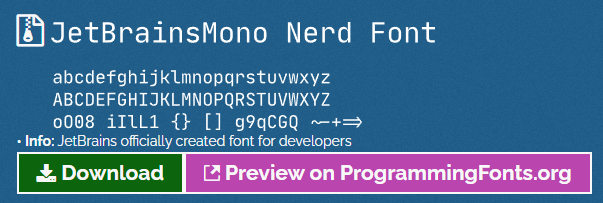
D:\Program Files\git\mingw64\share\git\git-for-windows.ico2. 安装 nerd 字体
安装 nerd 以显示图标, 不然会显示为方框
我选择 JetBrainsMono Nerd Font Mono
在 Terminal 使用字体 (注意要选择带 nerd 字样的字体)
设置>默认值>外观>字体:
3. 主题设置
参考: [1]
安装模块
主题美化模块 oh-my-posh
Install-Module oh-my-posh -Scope CurrentUser -SkipPublisherCheckposh-git 模块
Install-Module posh-git -Scope CurrentUser增强模块 PSReadLine
Install-Module -Name PSReadLine -AllowPrerelease -Scope CurrentUser -Force -SkipPublisherCheck文件图标库
Install-Module -Name Terminal-Icons -Repository PSGallery配置 Profile (打开方式二选一)
notepad.exe $PROFILE
code $PROFILE
在本段中,以下操作均在 $PROFILE 文件中操作
导入主题模块和图标库
Import-Module posh-git
Import-Module oh-my-posh
Import-Module -Name Terminal-Icons
设置主题 (主题库)
我选择使用 M365Princess主题
Set-PoshPrompt -Theme M365Princess自动补全和提示
Set-PSReadlineKeyHandler -Key Tab -Function MenuComplete完成后记得保存
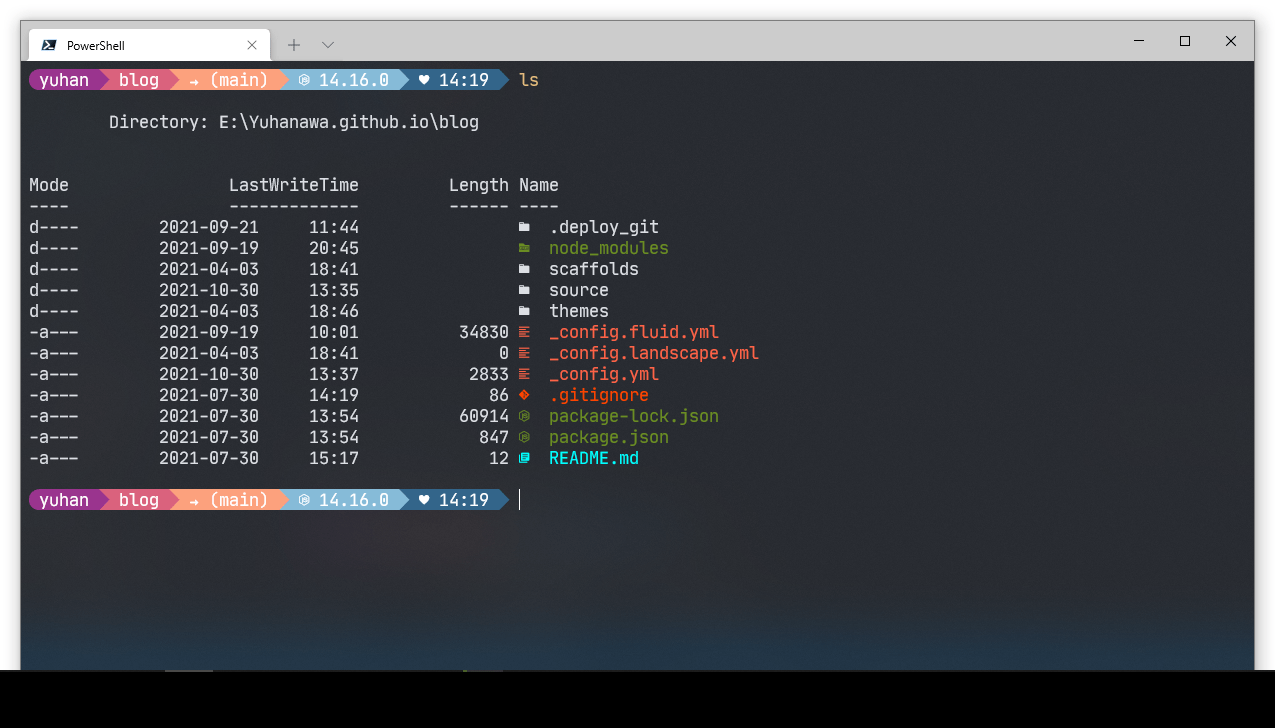
以下为完整文件及截图
Import-Module posh-git
Import-Module oh-my-posh
Set-PoshPrompt -Theme M365Princess
Set-PSReadlineKeyHandler -Key Tab -Function MenuComplete
重新打开 Terminal
完成啦(0^◇^0)/
参考
配置一个漂亮的 Windows PowerShell | Windows Terminal Preview 美化&个性化
http://yuhanawa.github.io/posts/2021/39178/